In the fast-paced video editing world, efficiency is vital to staying ahead. Mastering keyboard shortcuts can speed up your editing process, thus saving valuable time and enhancing efficiency.
We will delve into shortcuts (explore all the known ones) and cover video playback, editing tools, effects, organizing your timeline, and optimizing your workflow.
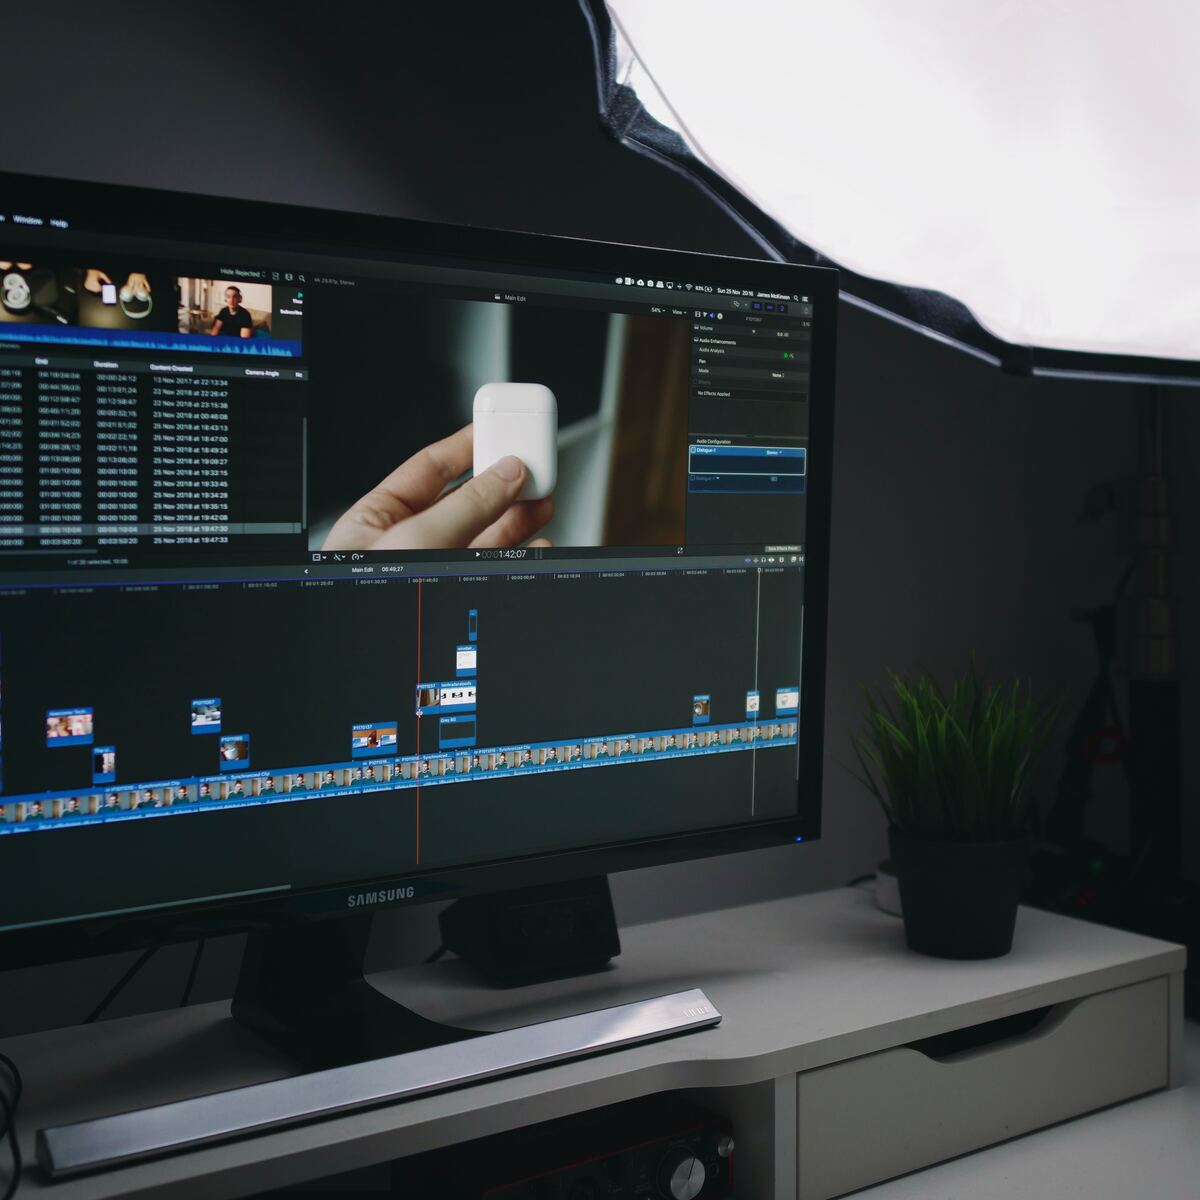
Photo by James McKinven on Unsplash
1. Mastering Keyboard Shortcuts
You’ll probably do a lot of video editing with a mouse when you first start. Learning shortcuts can save you time and help you finish projects faster.
Common Keyboard Shortcuts
| Task | Shortcut |
|---|---|
| Create a New Project | ⌘N |
| Create a New Event | ⌥N |
| Create Compound Clip | ⌥G |
| Import Media | ⌘I |
| Export/Share Project | ⌘E |
| Reveal in Browser | ⇧F |
| Reveal in Project | ⌥⇧F |
| Reveal in Finder | ⇧⌘R |
| Move to Trash | ⌘⬅︎ |
Timeline Shortcuts
| Task | Shortcut |
|---|---|
| Turn Clip On/Off | V |
| Add from Browser/Insert Above Timeline | Q |
| Add from Browser/Insert into Timeline | W |
| Add from Browser/Insert at End of Timeline | E |
| Mark In Point | I |
| Mark Out Point | O |
| Reposition and Overwrite Clips | P |
| Skim your Timeline | Hold S and move cursor along timeline |
| Play Backwards | J (Keep pressing to increase speed) |
| Playback at High Speed | L (Keep pushing to increase speed) |
| Skip to Previous Start of Clip | ; |
| Skip to Next Start of Clip | ‘ |
| Zoom Tool | Z |
| Turn Snapping On/Off | N |
| Mark Timeline/Clip | M |
Video Playback and Editing Tools Keyboard Shortcuts
| Task | Shortcut |
|---|---|
| Play Timeline | Space Bar |
| Delete | Delete / ⬅︎ |
| Copy | ⌘C |
| Paste | ⌘V |
| Duplicate | ⌘D |
| Select Tool | A |
| Trim Tool | T |
| Position Tool | P |
| Range Selection | R |
| Blade Tool | B |
| Zoom | Z |
| Hand | H |
| Trim Start | ⌥[ |
| Trim End | ⌥] |
| Trim to Playhead | ⌥\ |
| Blade at Playhead | ⌘B |
| Blade All Clips at Playhead | ⌘⇧B |
| Zoom In | ⌘= |
| Zoom Out | ⌘- |
| Add Basic Title | ⌃T |
| Add Lower Third | ⌃⇧T |
| Adjust the Volume Across All Selected Clips | ⌘L |
| Expand Audio | ⌃S |
| Collapse Audio | ⌃⇧ S |
Effects Shortcuts
| Task | Shortcut |
|---|---|
| Create a 2-Second Hold Segment | ⇧H |
| Open Retime Editor | ⌘R |
| Remove All Effects from the Selection | ⌥⌘X |
| Remove Selected Attributes | ⇧⌘X |
| Navigate to the Previous Text Item | ⌥⇧⇥ |
| Paste Selected Attributes and its Settings | ⌘⇧V |
| Paste Effects and its Settings | ⌥⌘V |
| Turn Balance Color Corrections On/Off | ⌘⌥B |
| Reset the Controls in the Current Color Board | ⌥⬅︎ |
Organizing Your Timeline With Shortcuts
| Task | Shortcut |
|---|---|
| Add a Marker at Playhead | M |
| Add a Marker and Edit the Marker’s Text | ⌥M |
| Delete Selected Marker | ⌃ M |
| Delete All Markers in Selection | ⌃⇧ M |
| Set Range Start | I |
| Set Range End | O |
| Set Clip Range | X |
| Clear Range End Point | ⌥O |
| Clear Range Start Point | ⌥I |
| Change Browser Filter Settings to All Clips | ⌃C |
| Show Keyword Editor | ⌘K |
| Apply Keywords to Selection 1 / 2 / 3, etc. | ⌃1 / 2 / 3, etc. |
| Remove All Keywords | ⌃O |
Organizing Your Projects and Workflow
| Task | Shortcut |
|---|---|
| Create a New Event | ⌥N |
| Create a New Folder | ⇧⌘N |
| Reveal Clip in Browser | ⇧F |
| Reveal Project in Browser | ⌥⇧⌘F |
| Sync Selected Event Clips | ⌥⌘G |
Navigating Through Various Windows
| Task | Shortcut |
|---|---|
| Show/Hide the Background Tasks Window | ⌘9 |
| Go to Audio Enhancements | ⌘8 |
| Go to Color Board | ⌘6 |
| Go to Browser | ⌘1 |
| Go to Inspector | ⌥⌘4 |
| Go to Timeline | ⌘2 |
| Go to Viewer | ⌘3 |
| Next Pane in the Inspector or the Color Board | ⌃⇥ |
| Previous Pane in Inspector or Color Board | ⌃⇧ ⇥ |
| Show or Hide the Inspector | ⌃⌘ 3 |
2. Organizing the Timeline
Final Cut Pro uses libraries to collect project footage. Creating one is simple: go to “File” and select “New Library,” give it a title, and save the location. The library icon on the left represents the collection within the interface.
Events are folders containing videos, audio clips, still images, and projects. You can create multiple within a library for effective organization and use different approaches to organize projects based on complexity or narrative structure. There is no one-size-fits-all method, so choose what suits your preferences.
Backing up your footage is crucial. Transfer everything to an external hard drive to ensure the safety of your original footage and project library on separate drives.
3. Enhancing Audio Editing
Final Cut Pro includes several powerful tools for analyzing and enhancing the audio in your projects, including:
- Equalization: A handy menu of equalization presets.
- Voice Isolation: Prioritizes human voices over other audio.
- Loudness: Improves the main audio signal and makes it more uniform.
- Background Noise Removal: Reduces background noise.
- Hum Removal: Reduces common electrical hum noise at 50 or 60 Hz.
While you must manually enable Equalization and Voice Isolation in the Audio Enhancements section of the Audio Inspector, the other enhancements correct common audio problems automatically or with minor manual adjustments. For even more editing magic, use templates.
4. Mastering Color Grading
Color grading is a skill set that requires a lot of patience, as it can be a frustrating and time-consuming task. However, learning to create cinematic grades for your footage can help make ordinary-looking footage extraordinary.
Photo by Wahid Khene on Unsplash
5. Transitions and Effects
Adding transitions between clips can enhance the visual appeal of your program. Transitions seamlessly replace one shot with another over a specified duration, creating a smooth flow between scenes. Three commonly used transitions are fades, cross dissolves, and wipes.
Fades gradually transition from one clip to another by adjusting the opacity of the outgoing clip until it disappears and the incoming clip becomes fully visible, creating a subtle and cinematic effect.
Cross dissolves, on the other hand, blend the outgoing and incoming clips by gradually increasing the opacity of the incoming clip while simultaneously decreasing the opacity of the outgoing clip, creating a smooth and seamless transition.
Wipes are transitions where one shot appears to “wipe” or push aside the previous shot, revealing the next clip. Wipes can have various shapes and directions, such as horizontal, vertical, diagonal, or customized shapes, and add a creative touch to your program while conveying a specific mood or style.
In addition to visual transitions, you can also incorporate audio-only transitions to enhance the auditory experience. A fade-in gradually increases the audio volume from silence to its desired level, while a fade-out does the opposite. Crossfades smoothly blend the audio between two clips by adjusting their volumes simultaneously, creating a seamless transition in the sound.
Utilizing these transition effects can elevate your program’s overall quality and engagement. Experiment with different transition types and durations to find the ones that best complement your content and storytelling style. You are welcome to try out plugins for even more editing freedom.
6. Optimizing Your Preferences
The default timecode is set in the top menu but can be changed if desired. Subframes allow zooming into a portion of a clip at 1/80th of a frame, the smallest audio increment. If you expand the audio from the video, you can trim and keyframe the audio to the nearest subframe. Dialog alerts reset when you trash FCP X preference files.
Editing Preferences
Detailed trimming feedback displays two monitor windows to easily compare the first shot’s end with the second shot’s start during ripple or roll trim. When the “Position playhead after edit operation” option is checked, the playhead jumps to the end of the newly-edited clip.
Changing Inspector Units to pixels instead of percentages provides a better understanding of the changes made. Enabling “Show reference waveforms” displays faint audio waveforms sized as if audio levels were set to 100%, aiding in locating edit points.
Still Image default duration sets the default duration for imported images and is customizable. You can override it in the Browser.
Playback Preferences
You can turn off rendering to improve performance on slower or older computers. If a portion of the project isn’t rendered, Final Cut will render it before the final export. Background rendering is paused during playback, resuming after playback stops. Optimized or proxy media are recommended for editing multicam clips, with proxy files providing better performance for projects with six or more cameras. Enabling frame drop check boxes is advised to identify performance issues early.
The Player Background only affects the display in Final Cut and does not affect output. A/V output is used when sending video output to a video monitor with a third-party interface, while computer monitors are sufficient for regular editing.
Import Preferences
The Media Storage option to copy files into the library simplifies media management and requires backing up only the library for media backup. Leaving media in place facilitates sharing between projects and editors, although relinking media stored in a library can be challenging. Transcoding media into ProRes 422 and creating proxy files are recommended for better performance, effects, and color grading.
Automatic keyword creation can be based on Finder tags and folder names while analyzing clips for balance color can automatically correct color issues, though manual color balance is often preferable. Audio analysis and removing silent channels can be helpful options, depending on the specific audio import needs.
Destination Preferences
Individual preferences for destinations vary. Destinations can be added or rearranged by dragging them. Right-clicking allows setting a specific destination as the default, with the shortcut ⌘ + E assigned. The default settings in the File > Share menu can be modified for each output option, saving time during export. Exporting as a master file is a common approach, followed by reviewing and compressing it using Compressor or Adobe Media Encoder.
Conclusion
In conclusion, mastering keyboard shortcuts, organizing your timeline, utilizing audio enhancements and color grading tools, incorporating transitions and effects, and optimizing export settings are essential for seamless video editing in Final Cut Pro.
By implementing these tips, you can significantly enhance your projects’ efficiency, productivity, and overall quality. Embrace these practices to unlock your creative potential and achieve professional results in your video editing endeavors.